
Create a Delivery Zone
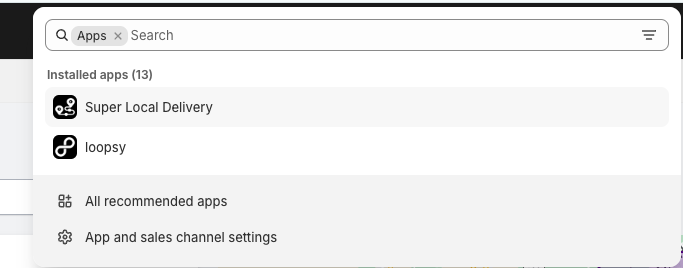
Learn how to efficiently create a zone in the Super Local Delivery Dashboard. Step 1: Login
Log in to the Super Local Delivery Dashboard using your credentials.
Step 2: Access Zones Tab
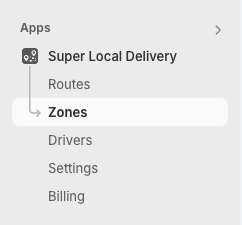
Navigate to the Zones Tab from the left-hand navigation menu.
Step 3: Select Location
Choose the specific location for which you want to create a new zone.
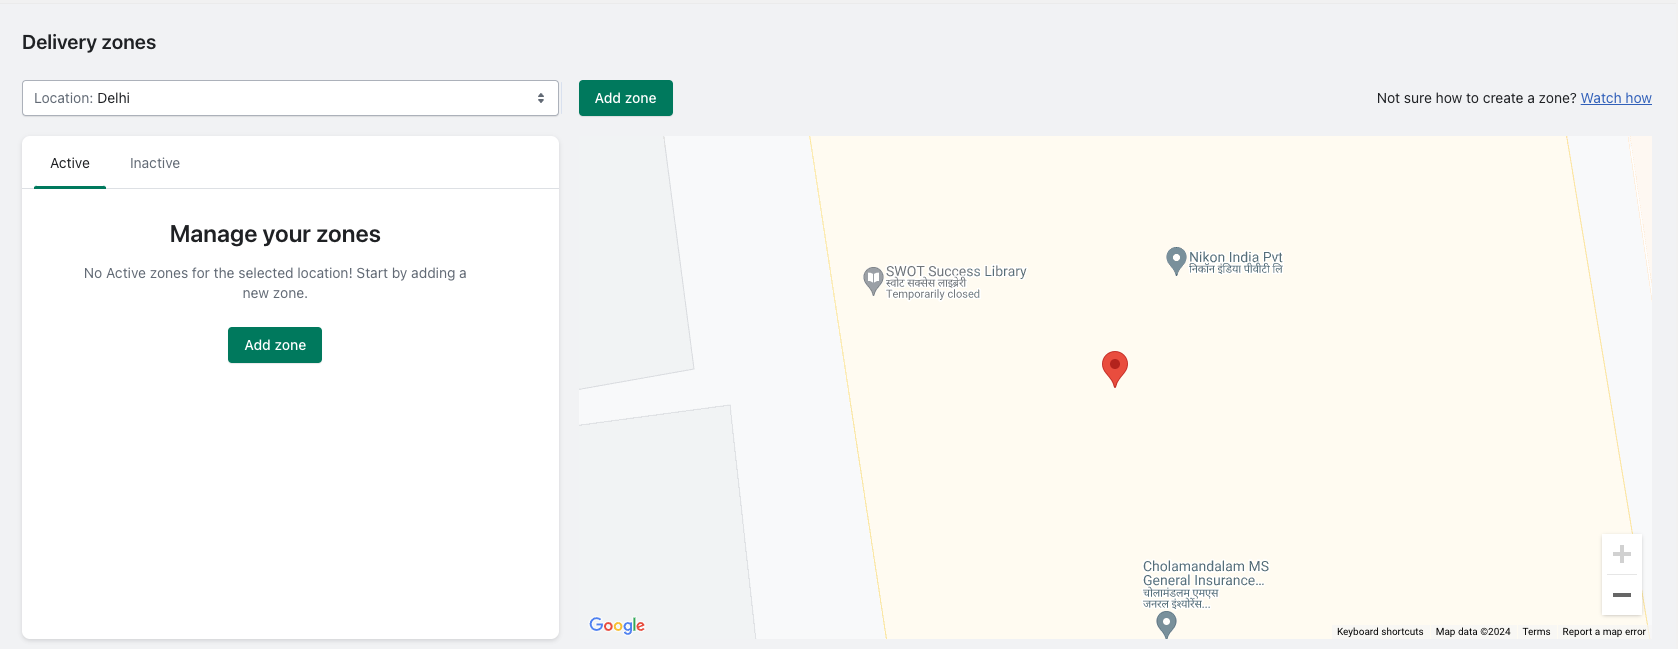
Step 4: Add Zone
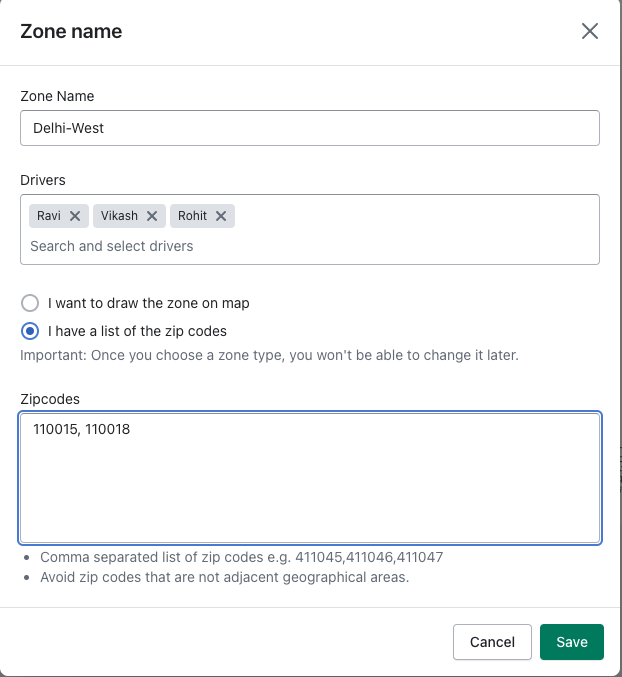
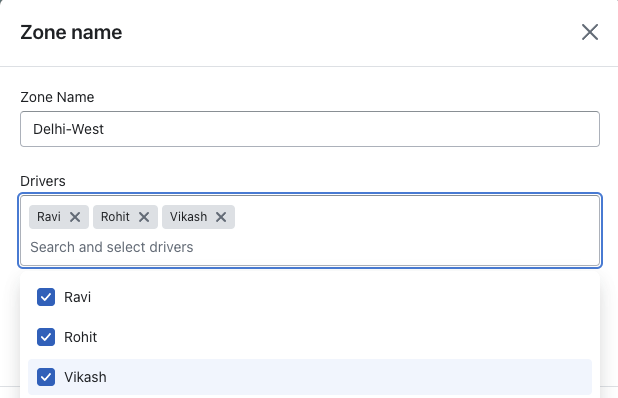
Click on the ‘Add Zone’ button.
Enter a descriptive title for the zone.
Select the relevant driver(s).
Specify the zone type.
Enter zip codes separated by commas.
Click ‘Save’.
Step 5: Zone Type - Map-based
Define the zone area on the map by selecting and outlining the geographical area.
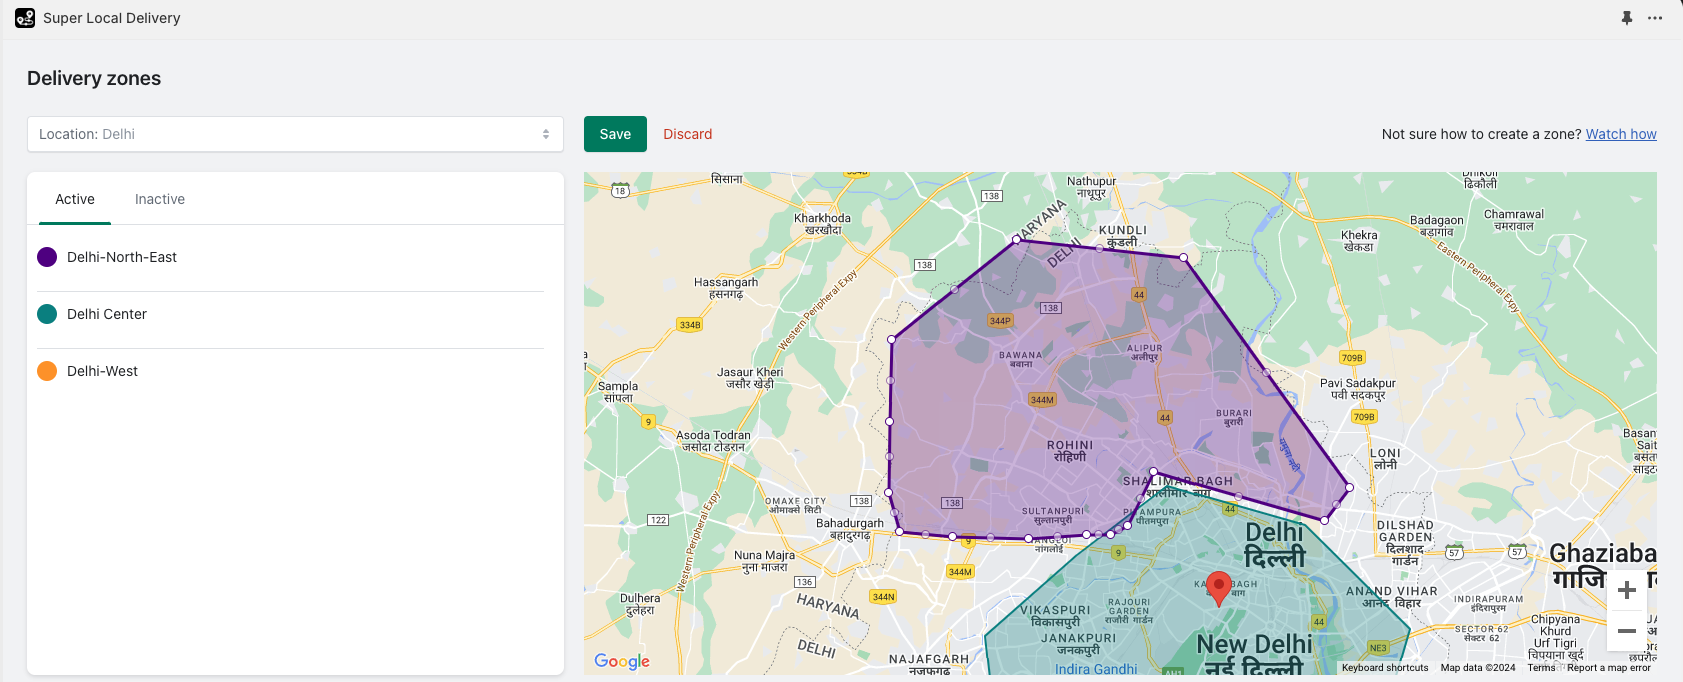
Step 6: Finalize and Save
Click ‘Save’ after outlining the desired area on the map.
The zone will be created with the specified name and region.
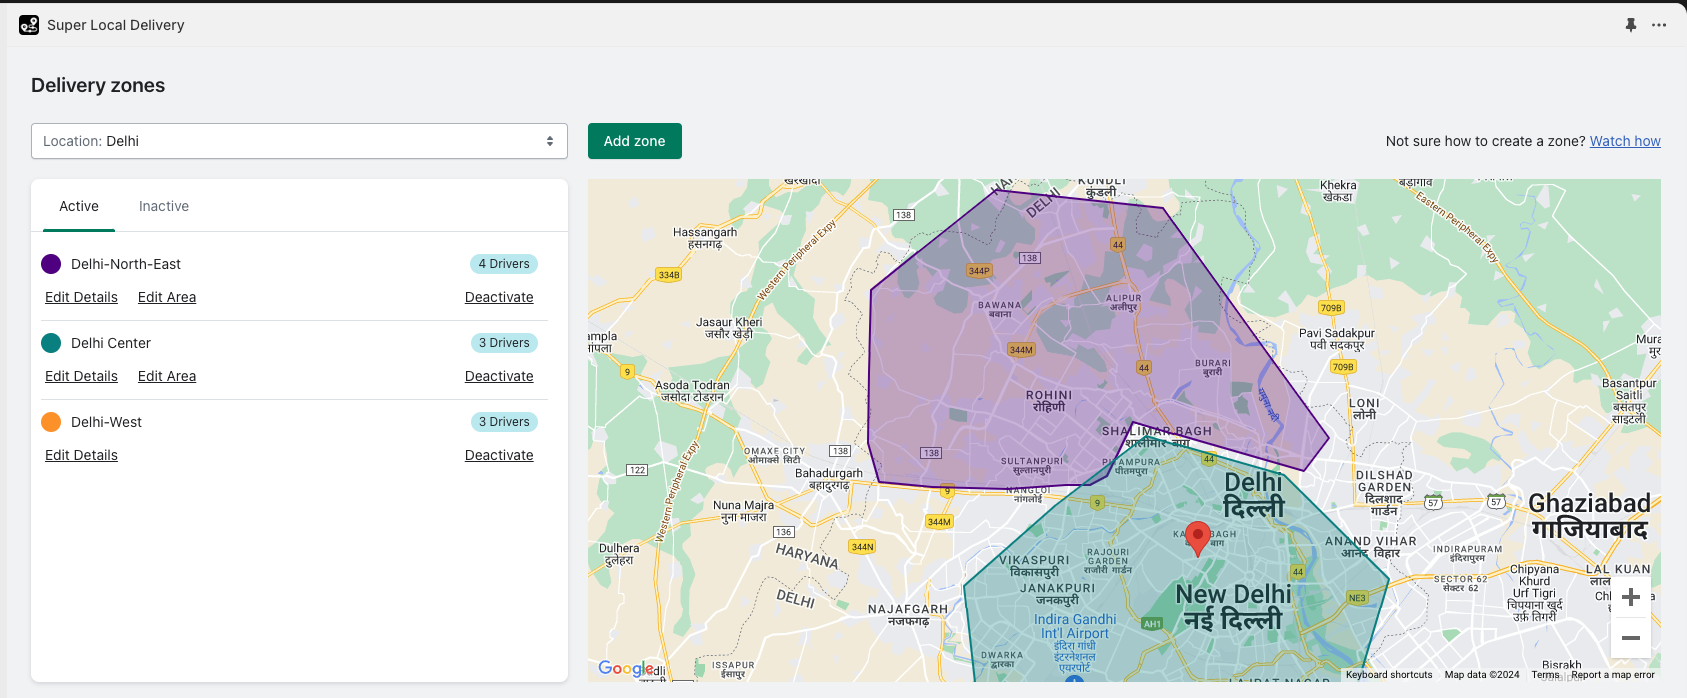
Follow these steps to efficiently create a zone in the Super Local Delivery Dashboard for managing delivery areas and optimizing operations.
Was this article helpful?
Thanks for your feedback!